
(click image to enlarge)
Making candy doesn't have to be hard. It is, usually, time consuming and you typically end up with a lot more candy than you think you want to eat. That's why it's perfect for giving to friends and family.
Over the last two nights, I made Buckeyes. For anyone not from Ohio, a
Buckeye is a nut that comes from the Buckeye tree (Ohio's state tree, by the way). They're poisonous, but they're also a symbol used frequently in reference to The Ohio State University (where I received my MA in 2005) and OSU Football. Even the OSU Mascot is a buckeye-
Brutus Buckeye to be specific.
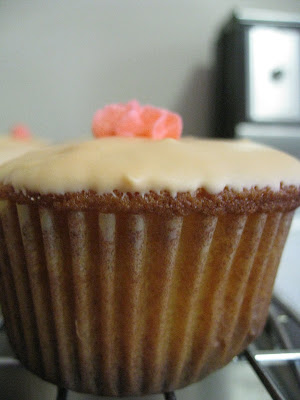
Buckeye candy has a peanut buttery center that is coated in chocolate- with a section of the peanut butter exposed at the top to resemble a buckeye.
We like to have buckeye candy on hand during the college football season in my house. We usually eat at least one buckeye each on game day. Tomorrow's game against USC will be no exception. We're having company over, company who will be rooting for USC, so you know our house will be decked out with everything OSU we can find (believe me, we have plenty of that at our house)- food included.
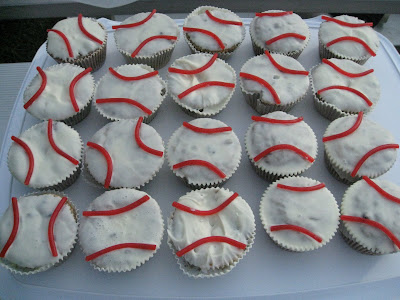
These took two nights to make, only because I forgot just how many the recipe makes. I have over 80 of these sitting in my fridge (so the chocolate doesn't melt) just waiting to be eaten. I know they'll be eaten, I have no concerns there- but I'll also be giving them away.
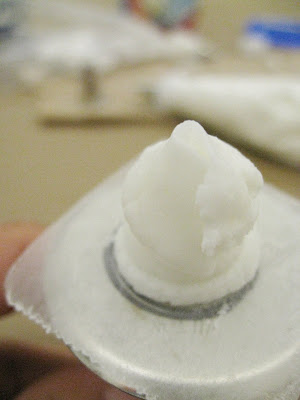
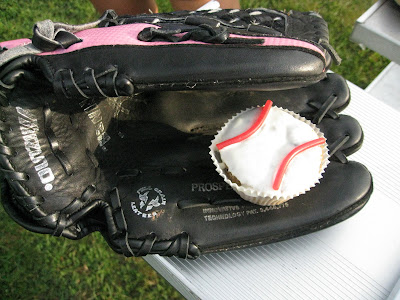
Why do I have little mini buckeyes? You'll just have to stay tuned to find out!
Ok, you're saying, enough with the babbling- how do I make these!? Alright relax, here's the recipe- I recommend halving it though, unless you want to have 80 of these things sitting in your fridge tempting you:
Peanut Butter & Chocolate Buckeye Candy
1 1/2 cups Peanut Butter
1 cup Butter, softened
1/2 teaspoon Vanilla Extract
6 cups Confectioner's Sugar
4 cups Semi-sweet Chocolate Chips
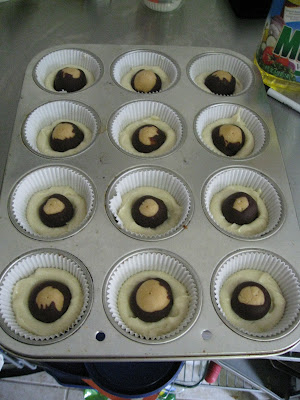
In a large bowl, mix together the peanut butter, butter, vanilla and confectioner's sugar. The dough will look dry. Roll into 1 inch (or whatever size your heart desires) balls, and place on a waxed paper lined cookie sheet.
Press a toothpick into the top of each ball (to be used later for dipping the candies) and chill in the freezer until firm- approximately 30 minutes.
Melt chocolate chips in a double boiler, or in a bowl set over a pan of barely simmering water (you can also melt the chips in the microwave using a microwave safe bowl- using the stove is preferrable as you can keep the chocolate heated and melted). Stir frequently until smooth.
Dip the frozen peanut butter balls in the chocolate, holding onto the toothpick. Leave a small circle portion of peanut butter showing at the top of the candy to give the appearance of buckeyes. Place back on the cookie sheet and refridgerate until serving.
Yeilds: 60-80 (depending on the size of your rolled peanut butter balls)

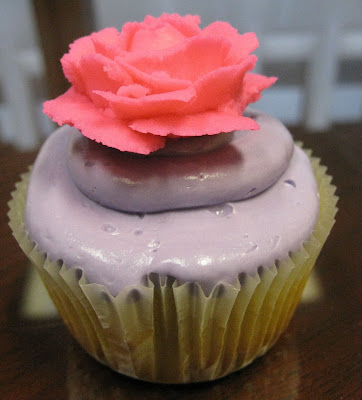
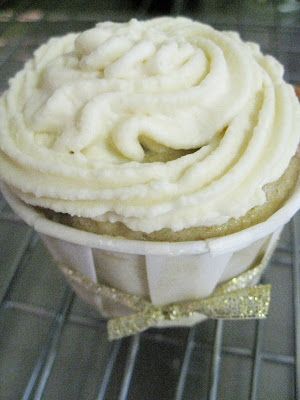
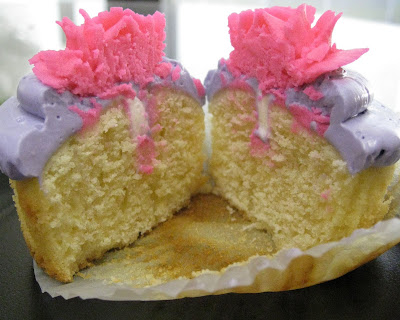 I decorated them at home, colored some of the creme purple to serve as the base frosting and then put some of my buttercream roses on top.
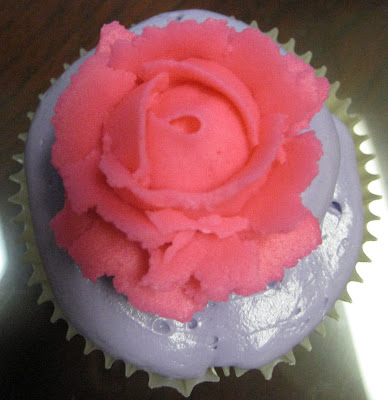


