Tuesday, December 11, 2007

Jingle All the Way

(click image to enlarge)

I really should have been working on my Christmas cards since November, but that did not happen this year. So, here's the first one I've done this season!

I used my Cricut for the large bell, tag, and the swirly branch at the top of the card. I thought I had gold paper, but I did not- so the accents on the bell were cut out in white cardstock, which was then colored using a gold gel pen.

I stamped the tag (with one of my new $1 stamps- love these!) and added a ribbon to draw attention to the stamp. I also used a strip of patterned paper on the right side to make the card a little more interesting.

I'll be working on the rest of my Holiday Cards this week- so expect to see more posts later next week (after they've been delivered, so I don't spoil the surprise for anyone!).

Tuesday, December 04, 2007

Where I've Been

I haven't posted anything in quite a while, and I'm sure that all of my loyal readers (all 2 of you) have been wondering where I'd gotten to. Well, I'll tell you: I got a new job and my husband and I moved. The job and the move have taken a lot out of me, not to mention the fact that I still don't know where 100% of my craft things are- but I'm working on that.

I just want to briefly mention one thing today: The Provo Craft DesignStudio for the Cricut.

I want this to be a great thing, and on the surface, it sounds like one. Unfortunately, as I read further into the description and FAQ, I just got upset.

The Cricut has been around for at least a year and a half or so (if not longer- I tried in vain to find the original release date and was unsuccessful). The whole time Provo Craft has been assuring the owners of said machines that eventually, at some point, the USB port would become functional for updates and other software. We all awaited the software release impatiently, because we had high hopes for what it would allow us to do.

Well, as you can tell from the link above, that day has come. Unfortunately for me, this lovely new software that I would actually love to try my hand at, is not compatible with Macs. The FAQ says something along the lines of "It's not compatible, but several people have asked for that, so we'll pass your enthusiasm along."

What crap. Listen, as a Mac person, I am aware that the majority of homes have a PC in them. That's fine, I was a PC user myself for a while. I switched to my Mac because my husband and I love it and it's much more functional for what we do (he: music and garage band; me: photo editing and design; both: dvd creation). If you ask around to Graphic Designers or Film Editors, or Musicians a lot of times the Mac is the more popular option. It seems to me that Provo Craft missed the boat on this one.

Ever since I got my Cricut, I joined in on the messageboard requesting that they make software that work on both PCs ad Macs. So they can't say this is a new request.

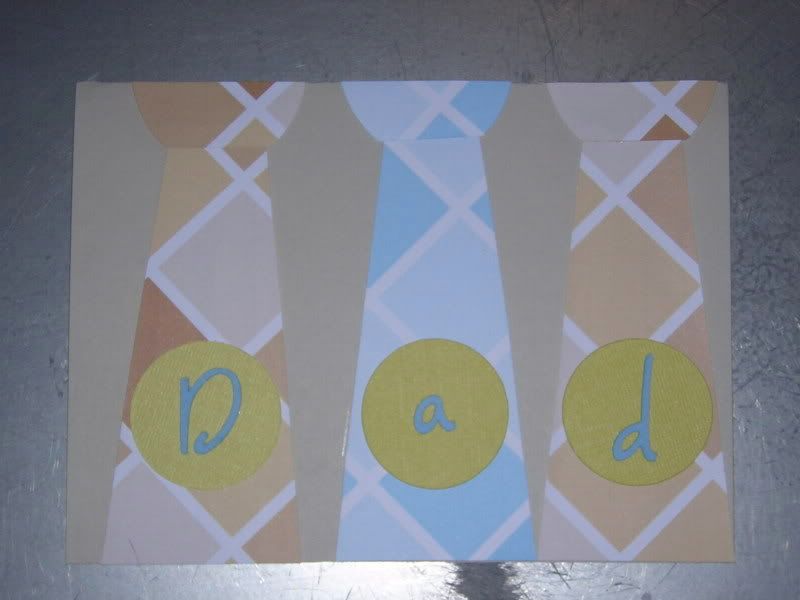
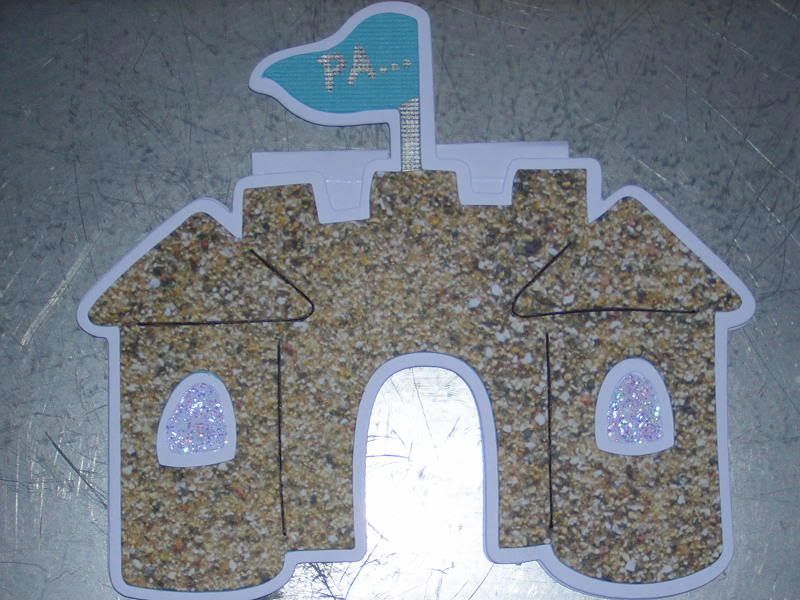
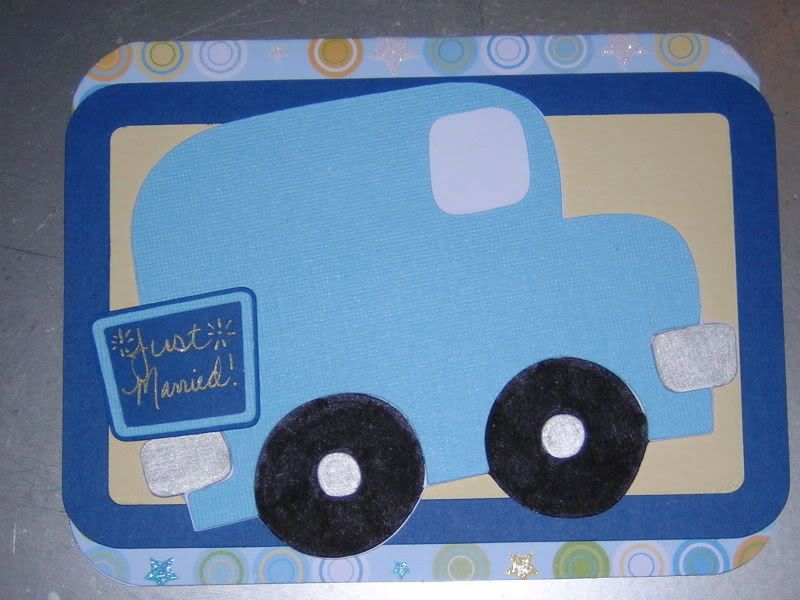
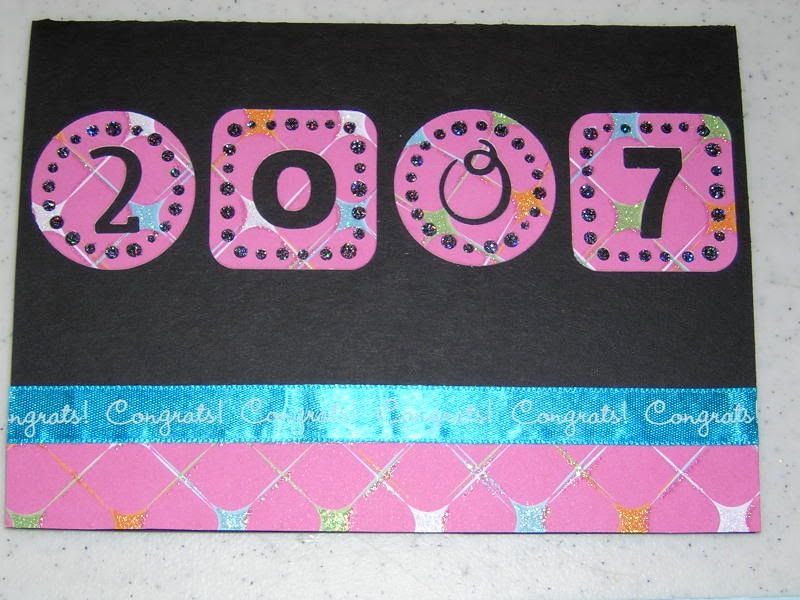
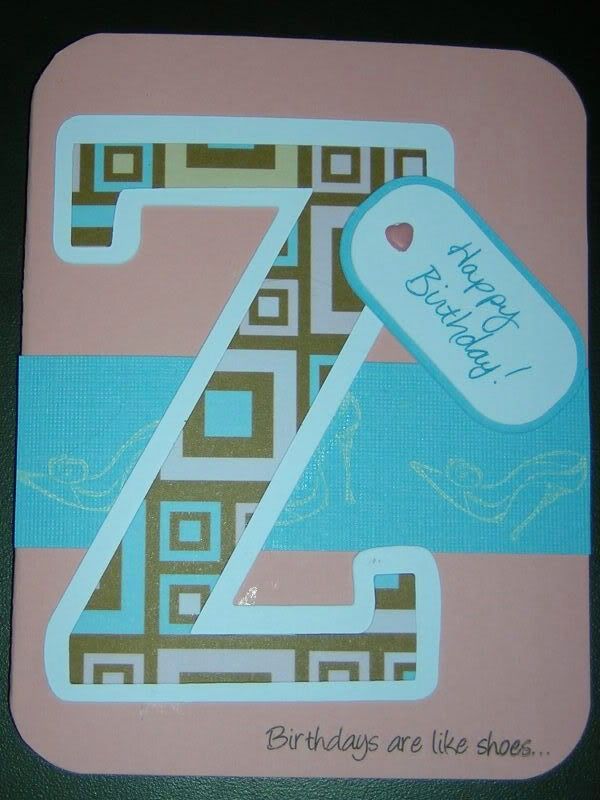
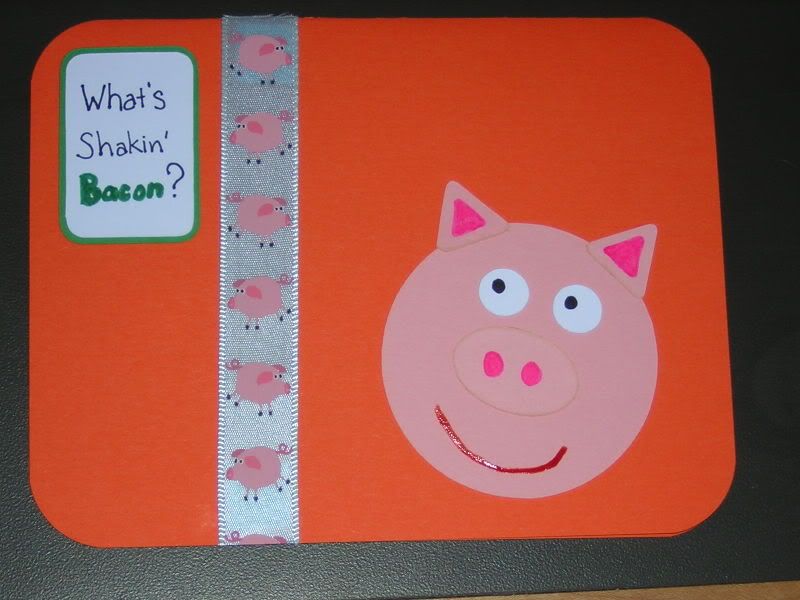
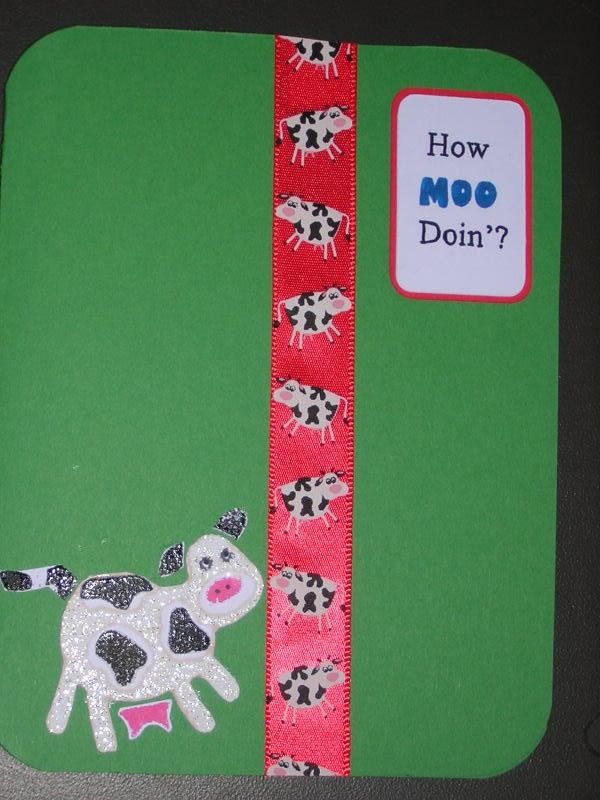
I won't stop using my Cricut or buying cartridges, because I love it and I love the ways I can use it in my crafts- but I am very disappointed.

Wednesday, September 19, 2007

Best Wishes (Wedding)

(click image to enlarge)

I made this card for friends of ours who are getting married this weekend. The bride made her own wedding invitations, so I wanted to use some of those elements in the card I made.

I was inspired by the "L & R" theme on the wedding invitation and the colors (red, orange, and yellow). I used my cricut to cut out the circle tag as well as the "L & R." I used an orange eyelet to attach the tag to the card. I stamped the wedding cakes and used yellow ribbon to accent that section of the card.

The inside sentiment says "Best Wishes!"

Happy Birthday

(click image to enlarge)

I made this card for a friend from College. I wanted to do something simple- that said Birthday without being too over the top.

I embossed the pink background paper using my Cuttlebug. I cut the "j," oval, and cupcake out using my Cricut. I colored the "sprinkles" on the cupcake using a gel pen and then went over them with iridescent glitter glue. I finished off the card by using a rounded corner punch on the background paper and the card itself.

The inside is blank.

Birthday!!

(click image to enlarge)

I made this card for my nephew's birthday. He is having a baseball themed party, so I thought it would be nice if the card matched.

I cut ten 1-inch circles out using my Cricut. Then I used a gel pen to draw on the baseball stitching. I used my Cuttlebug to emboss the "Birthday!!" sentiment. I went over the raised lettering with a silver gel pen to help it stand out more.

The inside sentiment reads "Hope your Birthday is a real ball!"

Many Thanks

(click image to enlarge)

This is a card I made for my Mother & Father In-Law as a thank you for my birthday gift.

I just purchased a Cuttlebug (which MIL & FIL gave me birthday money for), so I wanted to make sure I used it on this card. I used the Cuttlebug for the little frog in the lower left corner and the white square shapes on the card. I used my Cricut for "Many Thanks" and the black circle behind the frog. I outlined the circle with a silver gel pen to help it stand out more.

The inside of the card is blank.

Thursday, August 23, 2007

Thanks (Playbill)

(click image to enlarge)

This card was a thank you for my parents. They bought me tickets to see Chorus Line on Broadway- which definitely deserved a big thanks!

I was inspired by the Playbill from the show and tried to give the card the same feeling. The letters and apples were cut out using my Cricut.

I stacked the apples up using varying sizes. I used apples because New York City is so often referred to as the Big Apple, and I felt they gave the card the same look as the original Playbill.

Congrats (Birth of Baby)

(click image to enlarge)

I got the idea for this card from the booklet in with my Doodlecharms cartridge.

The baby face and bag were all cut out using my Cricut.

I stamped "congrats" on the baby bag, and went over it using a gel pen.

A quick and easy card that still looks super cute.

Good Luck!

(click image to enlarge)

This card was a gift for my Ballroom Dance instructor. She and another instructor have a competition this weekend. Unfortunately, I can't attend as I will be out of town- but I wanted to let her know that I was rooting for her.

I used my Cricut to cut out the tag and the letters in my instructor's name. I used a small stamp for the senitment on the tag, and then went over the ink with a gel pen to help it stand out more. I also outlined and dotted the green portion of the letters with the gel pen.

Guitar Hero Congratulations

(click image to enlarge)

This is a wedding card I made recently for a very unique couple. As a gift, a group of us gave them Guitar Hero II and an extra controller. I decided to make the card in the same theme as the gifts.

I paper pieced the two guitars together. The red piece was cut seperately from the black piece (neck of the guitar) and the individual buttons at the top (red, green, etc- just like on a real controller) were cut out seperately as well.

After piecing them together, I used gel pens for the whammy bar, strum button, and the start/select buttons. I used used one to give the guitar the illusion of having frets- which don't show up at all in the picture.

The sentiment inside the card reads, "Now you can Rock 'n Roll all night and party every day!"


Wednesday, July 04, 2007

Father's Day (II)

(click image to enlarge)

This is the card I made for my Husband's Dad for Father's Day.

I used my Cricut to cut out the green circles and the lettering for "Dad." I also used the machine to cut out the ovals at the top of the card. I hand cut the triangles.

I was trying to make the shapes (behind the "Dad") look like ties. I can see it, but I'm not sure that anyone else can.

Father's Day

(click image to enlarge)


I made this card for my Father. I wanted to make something a little different and fun so I decided to try a shaped card. This was my first attempt.

I cut out four versions of the castle using my Cricut and layered them (the smaller over the larger). Then I cut out small rectangle strips and glued them to the insides of the cards- to hold the two shapes together. You can see where the rectangles peek up at the top, near the flag. I would have liked the card to be a little more seamless, but again, it was a first attempt.

I outlined parts of the castle in a black gel pen to help it stand out a little more. I also embellished the windows of the castle with glitter glue. The flag reads "Pa..." and the inside sentiment says "Today, you're the king of your castle!"

Just Married

It's been a long time since I last posted. Things have been very busy around my house and I (unfortunately) haven't had as much time to craft as I would like. Now that summer's in full swing things have slowed down a little and I'm hoping to get craft again.

Now...onto the card.

(click image to enlarge)

I made this card for a friend who recently got married. She and her husband are taking a long road trip for their honeymoon so the card (and gift) were themed appropriately.

I used my Cricut to cut out the bus and altered it to look more like a van by leaving some of the windows out. I also cut out the rectangle frame (dark blue) and the "Just Married" sign. I hand wrote "Just Married!" with a gold gel pen.

The sentiment inside the card reads "Best of luck as you begin your journey together!"

Monday, May 14, 2007

2007 (Congrats)

(click image to enlarge)

Yet another card I made for a graduating student.

I cut out the 2007 using the Cricut. I used some black glitter glue in the circles cut out of the 2007.

The blue ribbon says "Congrats!" and had adhesive already on the back.

You are the Apple of My Eye

(click image to enlarge)


I made this card for my Grandmother for Mother's Day. Really, it could be used for any occasion- I simply put "Happy Mother's Day" on the inside.

I used the Cricut to cut out the apple and the tag for the front of the card. I covered the apple with three layers of UTEE to give it a shiny look and more dimension. I wrote "You are the apple of my eye" using pens, and used green for "apple" to make it stand out. Then I used a brad to hold the two pieces of the tag together.

Tuesday, April 24, 2007

A Little Note

(click image to enlarge)

I made this card a few weeks ago, but I didn't want to post it until I had sent it out in the mail.

I cut out the "globe" and the green rectangle using my Cricut. I layered several silhouette cuts of the circle to give it the depth needed, and then used a circle of transperency material for the covering.

I inked the edges of the envelope, and used a gel pen to accent the "folds" and heart. I used a paper punch for all the music notes inside the globe.

I used a stamp on the green rectangle, and did not notice until after I took the photo that it was spelled incorrectly (I've already contacted the distributer and should be getting a copy of the new stamp, with the correct spelling). I fixed the misspelling with a pen.

I sent out a different variation of this card to another friend as well.

Monday, April 23, 2007

Congrats- 2007 (Graduation)

(click image to enlarge)

I had a totally different vision in my head when I started this card. Originally, I wanted to cut the "Congrats" out and use the negative as the card front. I actually went through and did that, but I hated the way it turned out- so back to the drawing board.

I cut out both the "congrats" and the "2007" using my Cricut. It ended up looking a little squished, but I think I'm too hard on myself sometimes.

For the background, I used a stamp and a Versamark pad. The inside is blank.

Stars

(click image to enlarge)

I made this card for graduation, but I think you could use it for any occasion.

I cut the stars out using my Cricut. I think the next time I make a card like this, I will use a few more stars. The inside of the card has a rectangle (white cardstock with a gold frame around it) that says "Congrats."

This was super easy, and I finished it in like twenty minutes. I like the finished look though.

Graduation

(click image to enlarge)

I made this card for one of my students who will be working at NBC next year. I was inspired by the peacock logo. Originally, I tried to make the peacock take up the entire front of the card. I could not get it to look right, no matter what I did. Finally, after playing around a little I went with a more abstract version. I actually like this a lot.

I cut the "peacock" feathers out freehand, then inked them with some white ink to make them stand out a bit- but also to give them the same feel that the NBC logo has.

The mortar board is a stamp that I purchased a few years back. I stamped it in white ink on black cardstock. After the ink dried, I cut the image out and went over the lines with Paper Glaze to give it more definition. The image is secured with Pop Dots for even more dimension.

The inside is blank. I thought about using a rub on (Congratulations, or Good Luck), but decided against it.

The Sweet Smell of Success!

(click image to enlarge)

I spent most of my free time this weekend brainstorming and then creating cards for Graduation. I work at a College and have quite a few seniors graduating this year.

For this card, I used my Cricut to cut out the rectangles and the purple circle. I used a stamp to stamp the pig in the bathtub, as well as the sentiment. I colored the pig stamp in with crayons and colored pens. Then I went back and used glitter glue on some of the bubbles, and covered all the bubbles with Paper Glaze.

I put eyelets on the rectangle, and then used embrodery floss as an embellishment. The sentiment inside the card says "The sweet smell of success!"

Thursday, April 19, 2007

Congrats (Engagement)

(click image to enlarge)

Another basic card, made for a college friend who recently got engaged.

The letters are all cut with my Cricut, as is the circle for the ring. The "C" is covered in UTEE. The diamond is hand cut, lines added with a paint pen, and then glitter glue put on top to add extra sparkle.

I finished the card with my corner rounder.

Wednesday, April 18, 2007

You're Sweet

(click image to enlarge)
The weather has been so dreary lately, I wanted to make a bright and happy card that reminded me of summer.

I cut the popsicles with my Cricut and used a brown pen to add wood grain to the sticks. I added UTEE (Ultra Thick Embossing Enamel) to the pink popsicle. This is the first time I have worked with UTEE, but I'm pretty pleased with the results. I did three layers of UTEE to get the shine consistent.

The stamp on the side says "you're sweet." I like the pop of the white ink on the colored paper.

I will probably be experimenting more with UTEE. Depending upon the number of layers you do, and how much you let the enamel set you can get different textures. With one layer it looks a little crackly, and if you stamp an image in the enamel before it sets completely, that should give a different look.

Tuesday, April 17, 2007

Just Chicken In!

(click image to enlarge)
This card was super quick to make. I used a four sided stamp (made of a foamy material) for both the chicken and the chicken feet. I colored the chicken with different marker colors, and then used a Versamark pad for the chicken feet.

The rectangles were cut out with my Cricut. And the phrase is a homemade rub-on. I went over the rub-on with colored pens, as it was a little faded.

I used my corner rounder punch for the corners.

I made two other animal themed cards that were also any occasion cards.

Congrats! (Sorority)

(click image to enlarge)
I made this card over the weekend to send to some women from my Sorority (Alpha Phi).

I used the Cricut to cut out the rectangles, and the letters. I then arranged the letters so they would resemble the Sorority's badge. Obviously, it's not identical but I think I came pretty darn close with the fonts I had available.

The "congrats" is a stamp with white ink. I love the look, but that ink takes forever to dry.

I used a darker color for the card, to make the "badge" and "congrats" stand out. Inside I adhered a white piece of cardstock to write the message on.


I used my corner rounder punch as a final touch.

Sunday, April 15, 2007

I Miss U

(click image to enlarge)

I made this card a while back for my sister who lives in another state. It was really easy.

All cuts were made using my Cricut. I cut out several different sizes for the flowers- both in shadow and silhouette, then layered them together. I used glitter glue for the centers of the flowers, and also on the "I Miss U" tag. I used my corner rounder (paper punch) for the corners.

Inside, it says "in my thoughts" which is a stamped sentiment.

Friday, April 13, 2007

Celebrate! (Birthday Cake)

(click image to enlarge)


This is a really simple card that I made for my Aunt's birthday. I cut the cake using my Cricut. I cut the cake twice, and then cut out the icing in the patterned paper. I used glitter glue to give it a little sparkle.


The back of the cake says "Celebrate" in the patterned paper, again cut with my Cricut.


Birthdays are like shoes...

(click image to enlarge)

This was a pretty simple card to make. I used my Cricut for the Z and tag shapes. I hand wrote the "Happy Birthday" and attached the tag to the Z with a heart shaped mini brad. The strip of blue paper was cut with a simple paper trimmer and stamped with a shoe stamp from Michaels using white ink (which was pretty slow to dry).

The sentiment at the bottom is from a homemade rub-on embellishment. It says "Birthdays are like shoes..." The sentiment is completed inside with another homemade rub on that says, "You can never have too many!"

I think if I make a card like this again, I'll use a solid color for the letter, and have the background paper as the patterned paper.

Thursday, April 12, 2007

Diaper Cake & Exploding Scrapbook

(click image to enlarge)
This is my first ever diaper cake. I wanted to keep it small mainly because I wasn't sure how many diapers it would take or how heavy it would get. I actually like the size a lot. I used close to two packages of diapers (one newborn size, and one the next size up). My only regret is that the larger diapers had a picture printed on them.


To make the diaper cake I used instructions at Wiki-How. I used a cardboard cake circle as a base. If I had gotten a bit of a larger circle, I probably would have decorated it around the edges.

I didn't add a lot of "extras" to the cake. I know that a lot of people hide other gifts and things inside, but diapers are quite expensive. And, I didn't really see a lot that went with my color theme (this was for a shower with both parents, I didn't want the father to feel overwhelmed with "pink/girlie" colors- as they are having a girl). I added two wrist rattles to the cake, and a teething ring.

To top the cake, I used an Exploding Scrapbook. I decorated the entire scrapbook, so that once the baby is born, all the parents need to do is add photos and journaling. I even cut out letters and numbers so that they could have the date of birth.

Congrats (Baby)

(click image to enlarge)

I made this card a while ago for a friend who is expecting. Since I wasn't sure whether the baby was a boy or a girl, I went with "neutral" colors. (I am a huge fan of very bright and bold colors/prints. I'm currently working on branching out a bit from that.)

I used my Cricut to cut out the squares and "congrats." I desperately wanted to fit "congratulations," but that's quite a long word.

The bibs are a Stampin' Up stamp that I bought at least six years ago. (Thank goodness I don't know any Stampin' Up demonstrators, because it is impossible to only buy one set of stamps if you see a catalogue.) I tried coloring in the stars on the bibs, but I didn't like the way it looked, so I added jeweled stars. Then I thought the card needed balance at the bottom, so I added the ribbons.

I left the inside blank, so that I could write my own message.

Feel Better...Real Soon!

(click image to enlarge)

This is a pretty easy Get Well card that I made recently. It's not perfect, but it turned out pretty well considering I only had a vague idea of what I wanted.

I cut all the letters and items with my Cricut, which is seriously one of the best craft tools I have ever gotten. It took a little while to get the "band aid" to look right. If I make this card again, I think I would actually punch holes in the mid-section of the band aid, as opposed to just making dots with a pen.

I also don't think I would use a corner rounder (paper punch) on the bottom. It kind of made "fell better" all smushy. I don't like that at all.

The heart, however, turned out great. I used a white paint pen for the stitching effect. I'm still not brave enough to try my sewing machine on paper.

Inside the card it says "Real Soon!" The lettering is just like the front, only opposite colors- so white text with a navy outline (shadow).

Crafty Blog

Welcome to my new blog! Instead of focusing on personal stuff (I have other outlets for that); this blog will focus on my crafts. I hope to share techniques and projects, and just any general knowledge that I might have (or learn from elsewhere).

Lately I've been making a lot more cards and working on more pages for Scrapbooks. I really enjoy it, and it helps me unwind after work or other stressful things.

So, come on in, look around and stay awhile! If you want more details on any project I post, just ask.