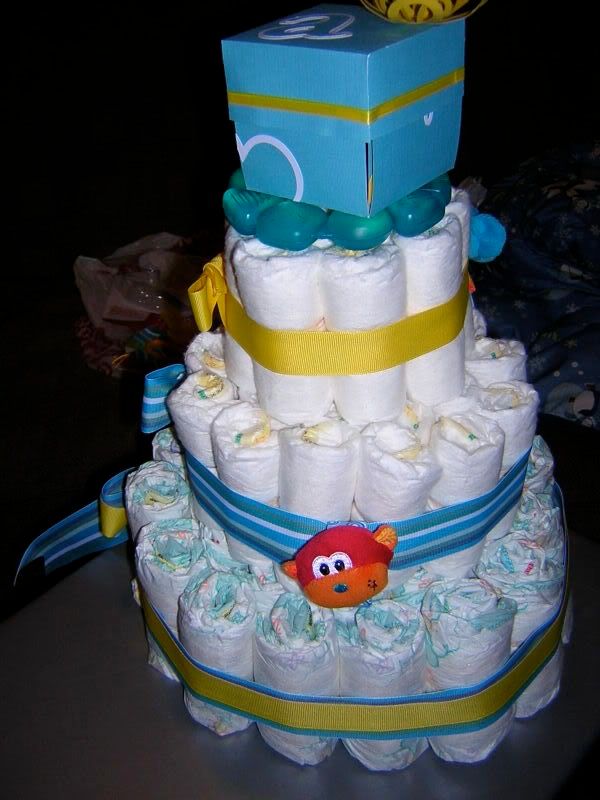
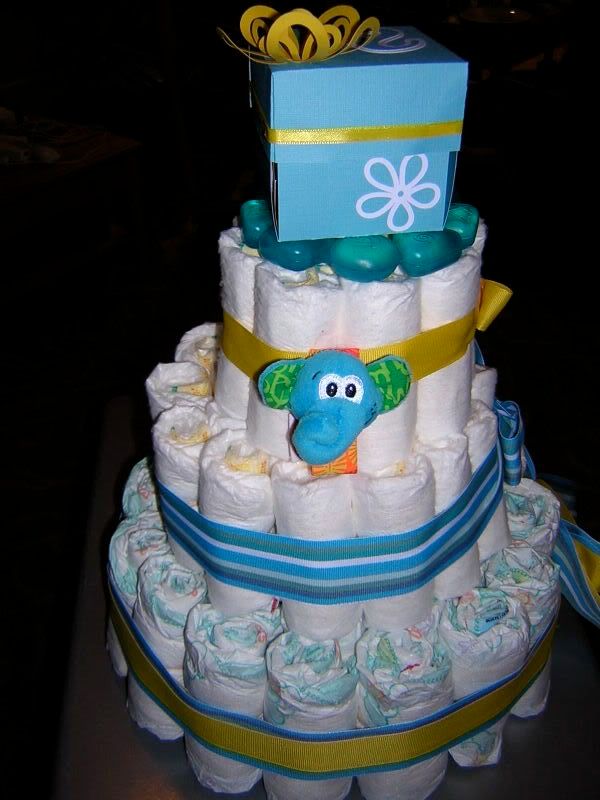
 (click image to enlarge)
I made this card a few weeks ago, but I didn't want to post it until I had sent it out in the mail.
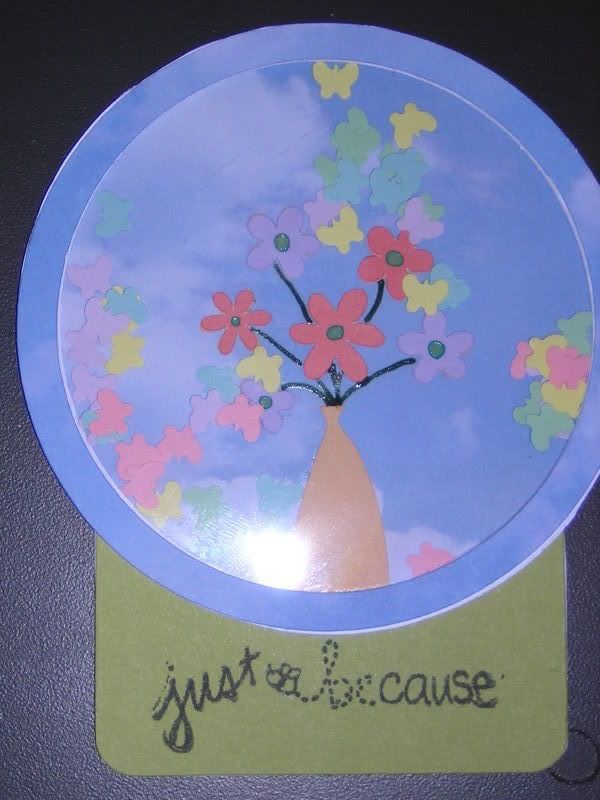
I cut out the "globe" and the green rectangle using my Cricut. I layered several silhouette cuts of the circle to give it the depth needed, and then used a circle of transperency material for the covering.
I inked the edges of the envelope, and used a gel pen to accent the "folds" and heart. I used a paper punch for all the music notes inside the globe.
I used a stamp on the green rectangle, and did not notice until after I took the photo that it was spelled incorrectly (I've already contacted the distributer and should be getting a copy of the new stamp, with the correct spelling). I fixed the misspelling with a pen.
I sent out a different variation of this card to another friend as well.


