My parents came up for a visit two weeks ago. My Mom called me a few days before the visit to request a card. Her boss is expecting.
Although I know my Mom's boss, I did not know her favorite color was pink. So, I opted for a gender neutral green coupled with a lovely dark gray.
I cut out the lady and her purse with my Cricut. I used a corner punch to round the corners and stamped the phrase. Once I arranged the lady and phrase on the card, it still seemed to be missing something.
Some crystal accents were the perfect finishing touches.
Congratulations N & P! I wish you the best of luck.
Showing posts with label Congrats. Show all posts
Showing posts with label Congrats. Show all posts
Wednesday, September 16, 2009

Tuesday, September 01, 2009
Cupcake Congratulations
I haven't been making or blogging my papercrafts as much as I'd like as of late. So, I'm working on correcting that.
A friend of mine recently got engaged. I wanted to send her a card because it's what I do, but also because I remember how much I enjoyed the handful of engagement cards I received (hard to believe that was four years ago now).
My friend is an avid cupcake lover. I know that no matter what, I can't go wrong if her gifts/cards have cupcakes involved.
I used my Cricut to cut out the cupcake, and the shapes for the engagement ring. Instead of topping the cupcake with sprinkles or a cherry, I used the engagement ring.
The cupcake ribbon is from Michael's (I think the dollar bin a while back, it has a little sparkle to it). Then I used gel pens to decorate the engagement ring and to write the "congrats!" sentiment.
I'm really pleased with the way this card came out. It's simple and sweet, and I think it works well for the occasion.
Wednesday, September 03, 2008
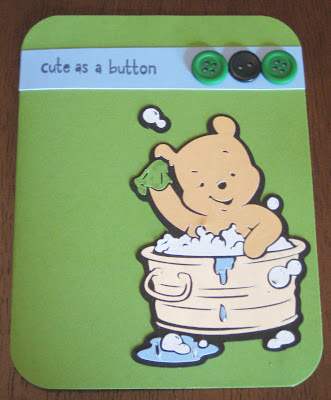
Cute as a Button
 (click image to enlarge)
 I made this card for some friends who we recently found out are expecting. I had just gotten my new Pooh Font cartridge and really wanted to use it.
This little Pooh was too cute to pass up. Since I have no idea if the baby is a boy or a girl, I stuck with neutral colors. I just love that rich green color.
I used a corner punch to round the corners and added buttons to accent the stamped phrase. Although you can't see it in the photo, I used a gel pen for Pooh's tongue.
Tuesday, July 08, 2008
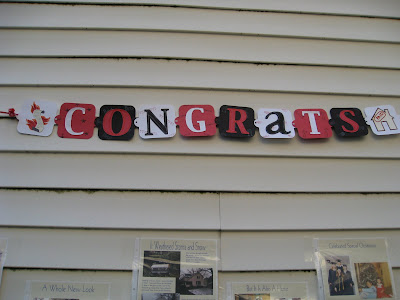
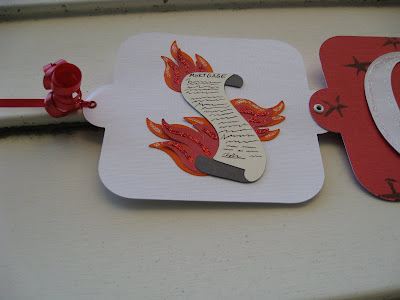
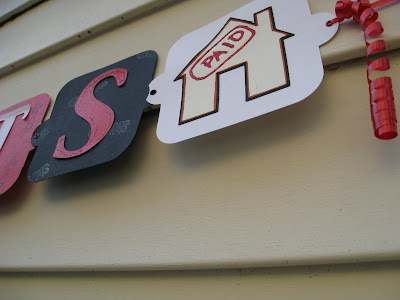
Congrats- Mortgage Burning
 (click image to enlarge)
For the Mortgage party, I also made a sign. My Mom had made a set of fliers with photos and stories of the past 30 years at our house. This sign was the perfect addition to her display.
I used the Cricut to cut out the letters and the background. I also cut out a "mortgage" covered in flames, and a home that was stamped as "paid." I used glitter glue to accent certain portions of the sign.
Tuesday, April 08, 2008
Grab the Keys
 (click image to enlarge)
I made this card for my cousin who recently got her driver's license. I don't get to see her very often since we're states away and I wanted her to know that I was thinking of her.
I cut out the car & key with my Circut. I had to hand cut the windshield and front bumper on the car. I also cut the key out twice, to get the brown keyring. I hand wrote the sentiment in the bottom right hand corner.
The inside reads, "Congratulations!"
A simple card, but I think it's cute and gets the message across.
Wednesday, February 20, 2008
Going to the Chapel
 (click to enlarge)
This is an engagement card that I made for a friend a few weeks ago. Her fiance surprised her with a trip to Boston and his proposal. The best part (if you ask me) is that he planned it in Boston so that two of her friends (myself and a mutual friend) could come and meet them for lunch while they were there (we- the friends- had no idea this was happening at all until we were invited for lunch).
I was inspired by $1 treat bags from Target (I forgot to snap a photo of those) for the design of this card. I wanted something cute and fun, but not too girly or frilly. I cut out the rectangles using my Circut and punched out some hearts after that.
I stamped the phrase "Going to the Chapel" on the outside of the card, and the sentiment "Best Wishes for Happily Ever After" on the inside. I went over both sentiments with gel pens to make them stand out more.
Thursday, August 23, 2007
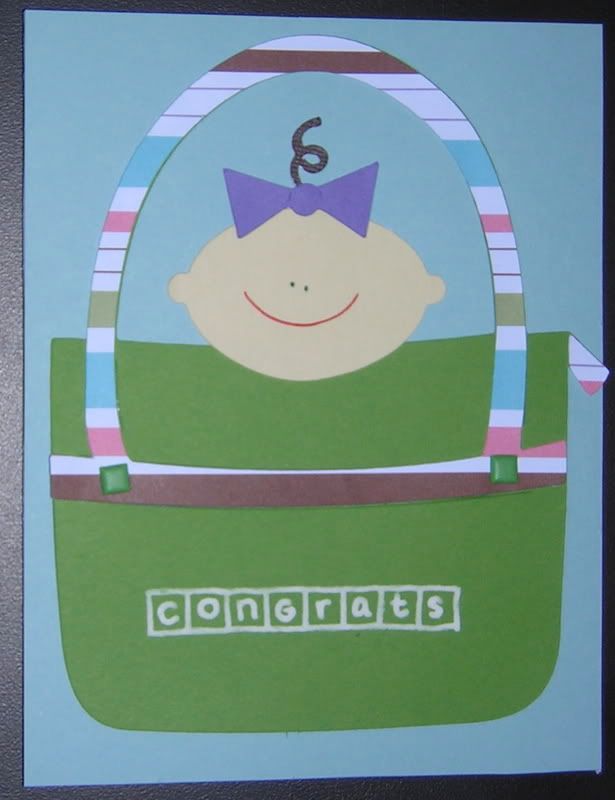
Congrats (Birth of Baby)
 (click image to enlarge)
I got the idea for this card from the booklet in with my Doodlecharms cartridge.
The baby face and bag were all cut out using my Cricut.
I stamped "congrats" on the baby bag, and went over it using a gel pen.
A quick and easy card that still looks super cute.
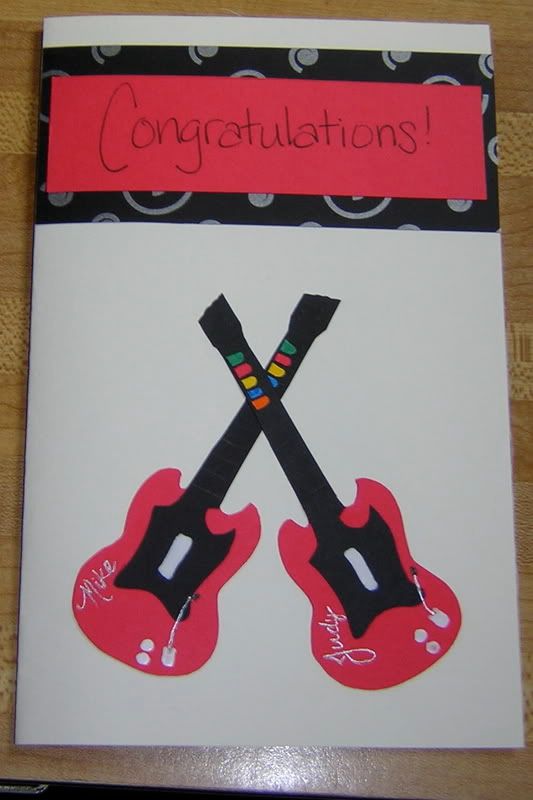
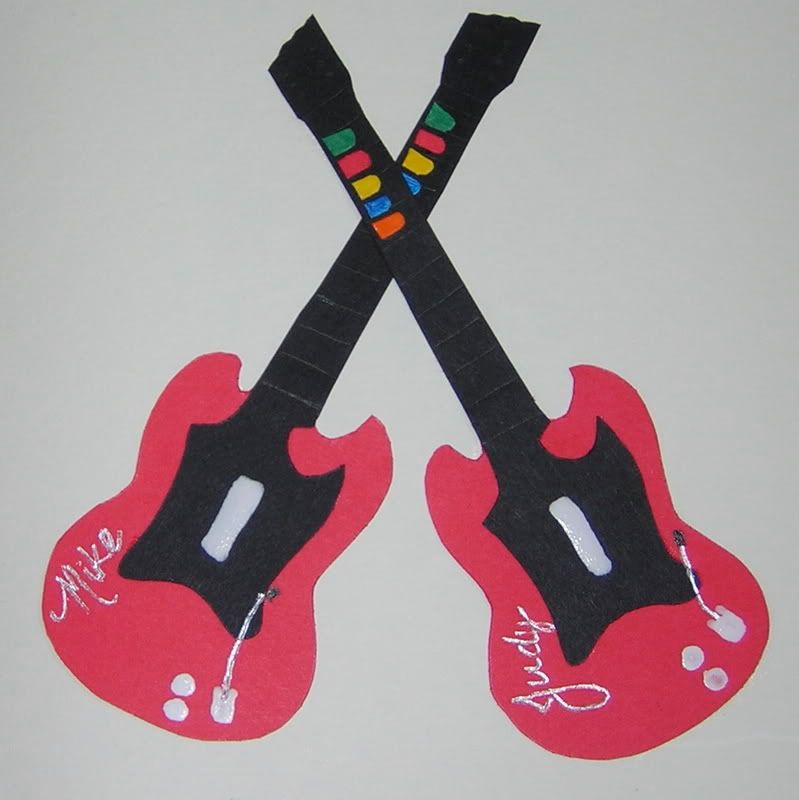
Guitar Hero Congratulations
 (click image to enlarge)
This is a wedding card I made recently for a very unique couple. As a gift, a group of us gave them Guitar Hero II and an extra controller. I decided to make the card in the same theme as the gifts.
I paper pieced the two guitars together. The red piece was cut seperately from the black piece (neck of the guitar) and the individual buttons at the top (red, green, etc- just like on a real controller) were cut out seperately as well.
After piecing them together, I used gel pens for the whammy bar, strum button, and the start/select buttons. I used used one to give the guitar the illusion of having frets- which don't show up at all in the picture.
The sentiment inside the card reads, "Now you can Rock 'n Roll all night and party every day!"
Monday, May 14, 2007
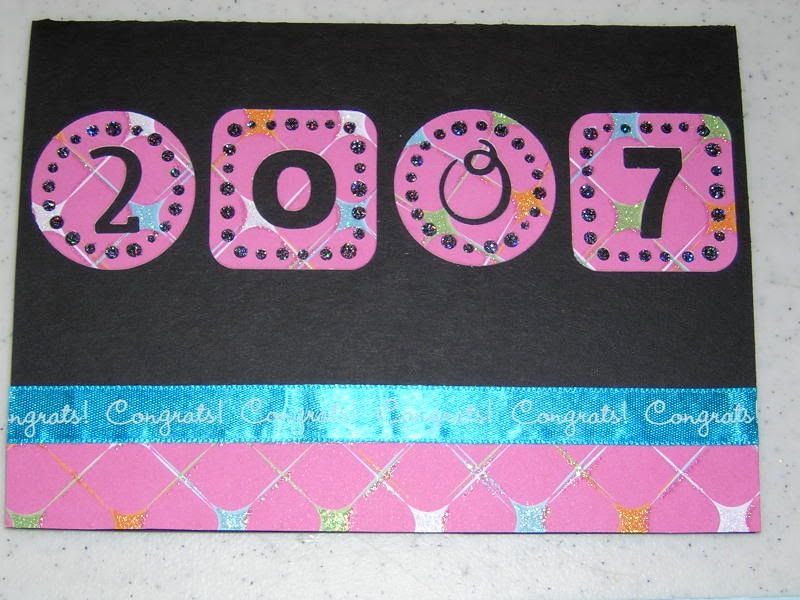
2007 (Congrats)
 (click image to enlarge)
Yet another card I made for a graduating student.
I cut out the 2007 using the Cricut. I used some black glitter glue in the circles cut out of the 2007.
The blue ribbon says "Congrats!" and had adhesive already on the back.
Monday, April 23, 2007
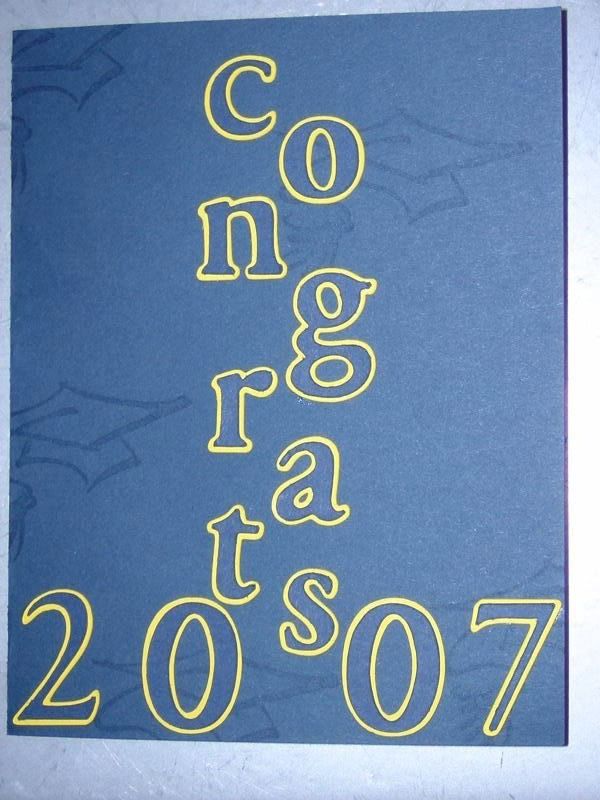
Congrats- 2007 (Graduation)
 (click image to enlarge)
I had a totally different vision in my head when I started this card. Originally, I wanted to cut the "Congrats" out and use the negative as the card front. I actually went through and did that, but I hated the way it turned out- so back to the drawing board.
I cut out both the "congrats" and the "2007" using my Cricut. It ended up looking a little squished, but I think I'm too hard on myself sometimes.
For the background, I used a stamp and a Versamark pad. The inside is blank.
Thursday, April 19, 2007
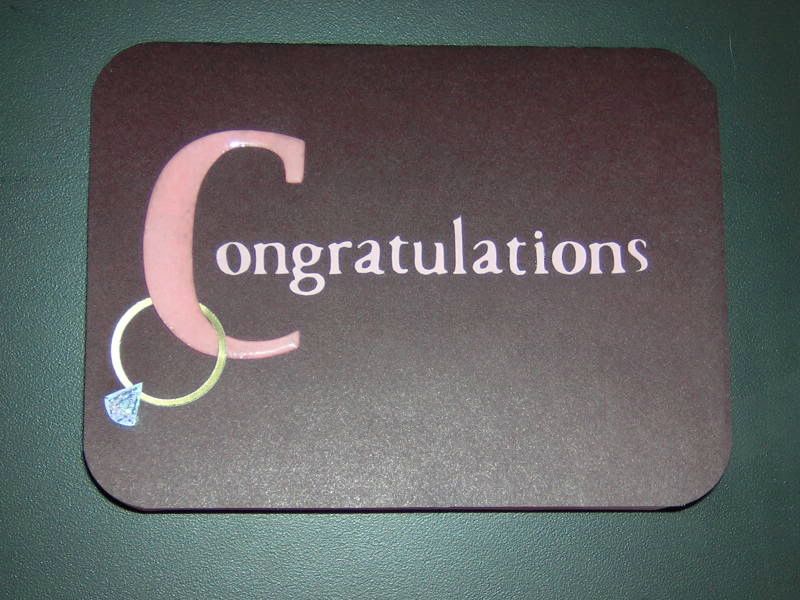
Congrats (Engagement)
 (click image to enlarge)
Another basic card, made for a college friend who recently got engaged.
The letters are all cut with my Cricut, as is the circle for the ring. The "C" is covered in UTEE. The diamond is hand cut, lines added with a paint pen, and then glitter glue put on top to add extra sparkle.
I finished the card with my corner rounder.
Tuesday, April 17, 2007
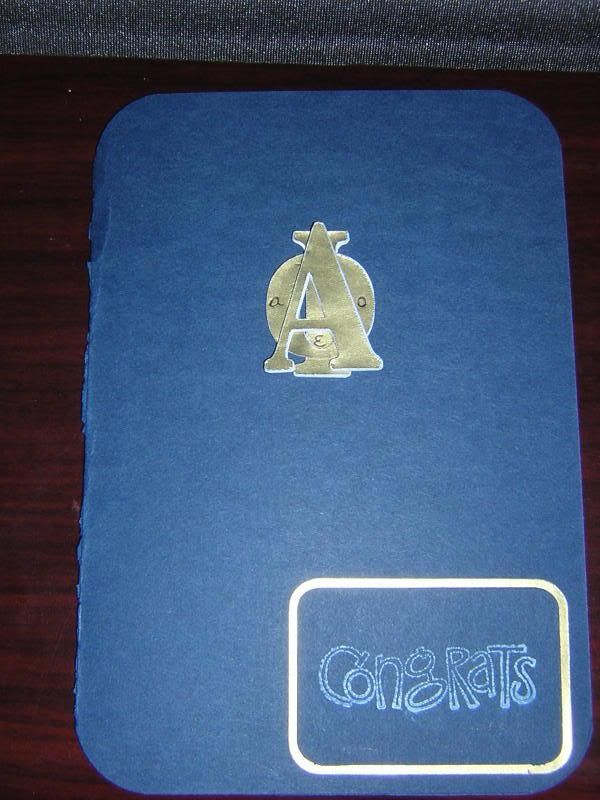
Congrats! (Sorority)
 (click image to enlarge)
I made this card over the weekend to send to some women from my Sorority (Alpha Phi).
I used the Cricut to cut out the rectangles, and the letters. I then arranged the letters so they would resemble the Sorority's badge. Obviously, it's not identical but I think I came pretty darn close with the fonts I had available.
The "congrats" is a stamp with white ink. I love the look, but that ink takes forever to dry.
I used a darker color for the card, to make the "badge" and "congrats" stand out. Inside I adhered a white piece of cardstock to write the message on.
I used my corner rounder punch as a final touch.
Thursday, April 12, 2007
Congrats (Baby)
 (click image to enlarge)
 I made this card a while ago for a friend who is expecting. Since I wasn't sure whether the baby was a boy or a girl, I went with "neutral" colors. (I am a huge fan of very bright and bold colors/prints. I'm currently working on branching out a bit from that.)
I used my Cricut to cut out the squares and "congrats." I desperately wanted to fit "congratulations," but that's quite a long word.
The bibs are a Stampin' Up stamp that I bought at least six years ago. (Thank goodness I don't know any Stampin' Up demonstrators, because it is impossible to only buy one set of stamps if you see a catalogue.) I tried coloring in the stars on the bibs, but I didn't like the way it looked, so I added jeweled stars. Then I thought the card needed balance at the bottom, so I added the ribbons.
I left the inside blank, so that I could write my own message.
Subscribe to:
Posts (Atom)

